Here is a standard central venous line insertion kit. There are some things in it that we (or at least “I”) truly never use, and I suspect some folks do not even know what they are for. Let’s have a look.
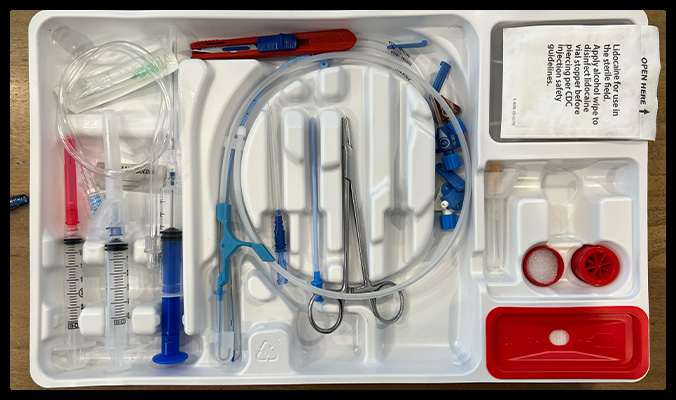
This extension tubing and blunt tipped needle with a green hub in it’s own packaging, for example, what are they for?
The needle is labeled “Transduction Probe”. Why? What does it transduce?
Before we can explain that, we need to consider the function of the blue syringe in the kit.
The Raulerson Syringe (Yes, it has a name)
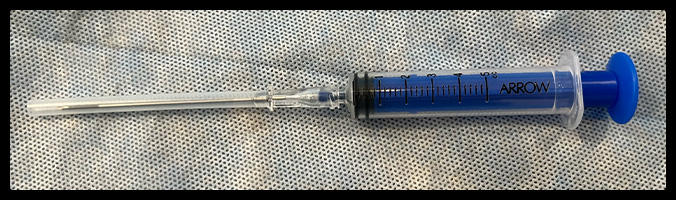
This syringe with a blue plunger has a one-way valve mechanism that lets you pass a wire all the way through the syringe and out the needle tip without letting any blood leak out.
How to confirm venous placement
The most reliable way to confirm venous – as opposed to arterial – needle placement is to do the procedure under ultrasound guidance.
If the line was placed without ultrasound guidance, however, we use other clues to confirm venous placement. One is to look at the color of the blood in the syringe. Another is to disconnect the syringe from the needle and observe whether the blood is oozing (venous) or spurting (arterial). Neither is infallible.
The whole purpose of using the Raulerson syringe, though, is to not have to disconnect the syringe from the needle.
So, how do you confirm venous placement without disconnecting the syringe from the needle?
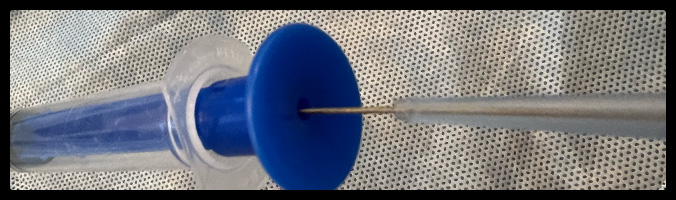
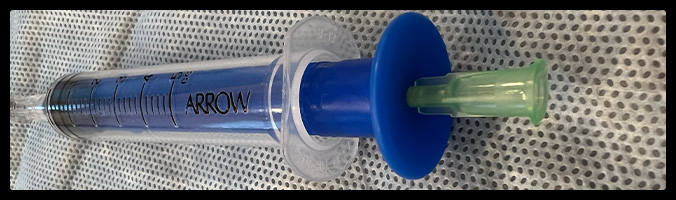
Enter the “Transduction Probe”
This blunt tipped needle is designed to be placed into the hole on the back of the plunger of the Raulerson syringe. Doing so deactivates the valve mechanism and allows blood to flow though the needle and out the back of syringe in an open manner.
Here is the manufacturer’s description of what it is for and how to use it
So, the intended use is to have a pressure transduction system (the same setup we use to measure blood pressure via an arterial line or central venous pressure via a CVL) set up, flushed, calibrated, and ready to go when you are inserting the needle. Then, once you get blood in the syringe, attach the pressure transduction system to the Raulerson syringe via the transduction probe and look at the monitor. The idea is that the wave form would either be arterial or venous, and the pressure would either be high and pulsatile indicating arterial placement, or low and steady indicating venous placement.
Maybe you see the problem. Setting up the pressure transduction system requires some specialized equipment and nursing time/expertise. Maybe this can happen quickly in an ICU setting where it is done frequently, but in the ED it’s a hassle. Admittedly, it could be done. But given that there are quicker, cheaper, less labor intensive options, it’s not surprising that we never do this.
The extension tubing
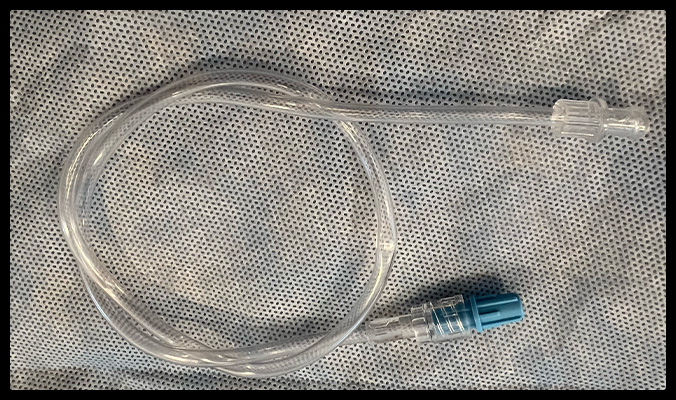
The extension tubing gives you a back up plan. Rather than going to the time, trouble, and expense of setting up the pressure transduction system, you could insert the pressure transduction probe to the Raulerson syringe and attach the extension tubing to the needle.
Holding the end of the tubing up relative to the insertion site allows us to see if the blood climbs the tube against gravity. If it does not rise at all, or only climbs as high as the CVP (~10 cm H20 above the right atrium) the needle is likely in a vein. On the other hand, if it climbs the tube well above 10 cm, it is indicative of arterial placement.
Wrap it up
The transaction probe and extension tubing give you some options for confirming venous placement when the Raulerson syringe was used for access. In the era of ultrasound guidance, we rarely need other methods for confirmation. In my experience, it is simpler to remove the syringe from the needle and check the pulsatility of the flow than to attach these extra contraptions to the syringe. However, this is matter of personal preference and the transduction probe and extension tubing are perfectly valid options.
Now you know
