Learners often make the same same mistakes. One of the most common is not setting the depth properly. It’s not hard to fix, but it does need to pointed out. Let’s do that.

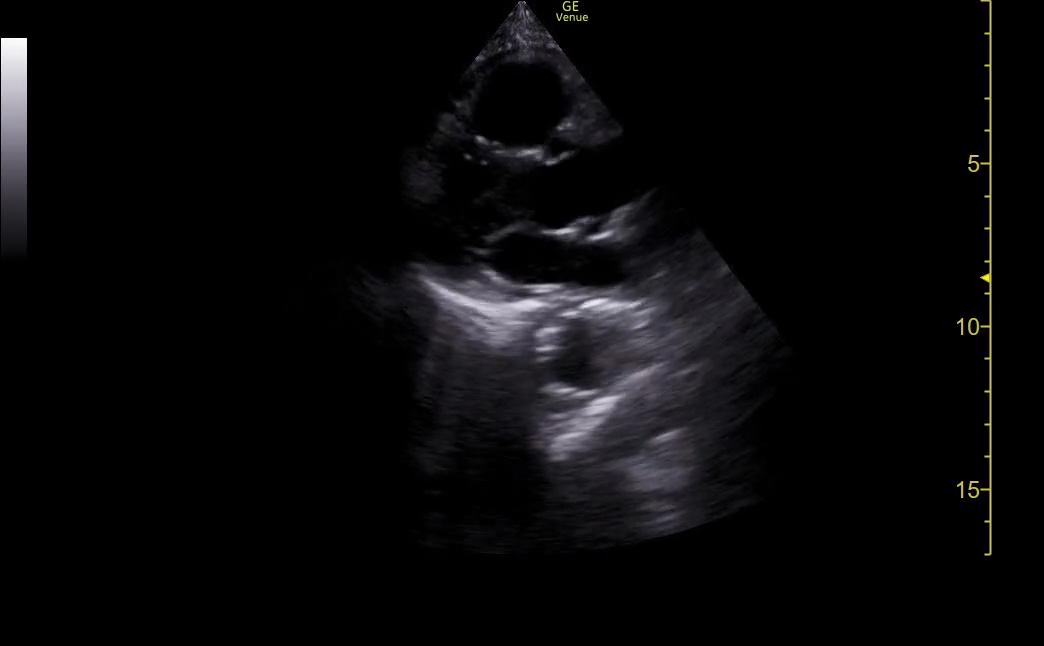
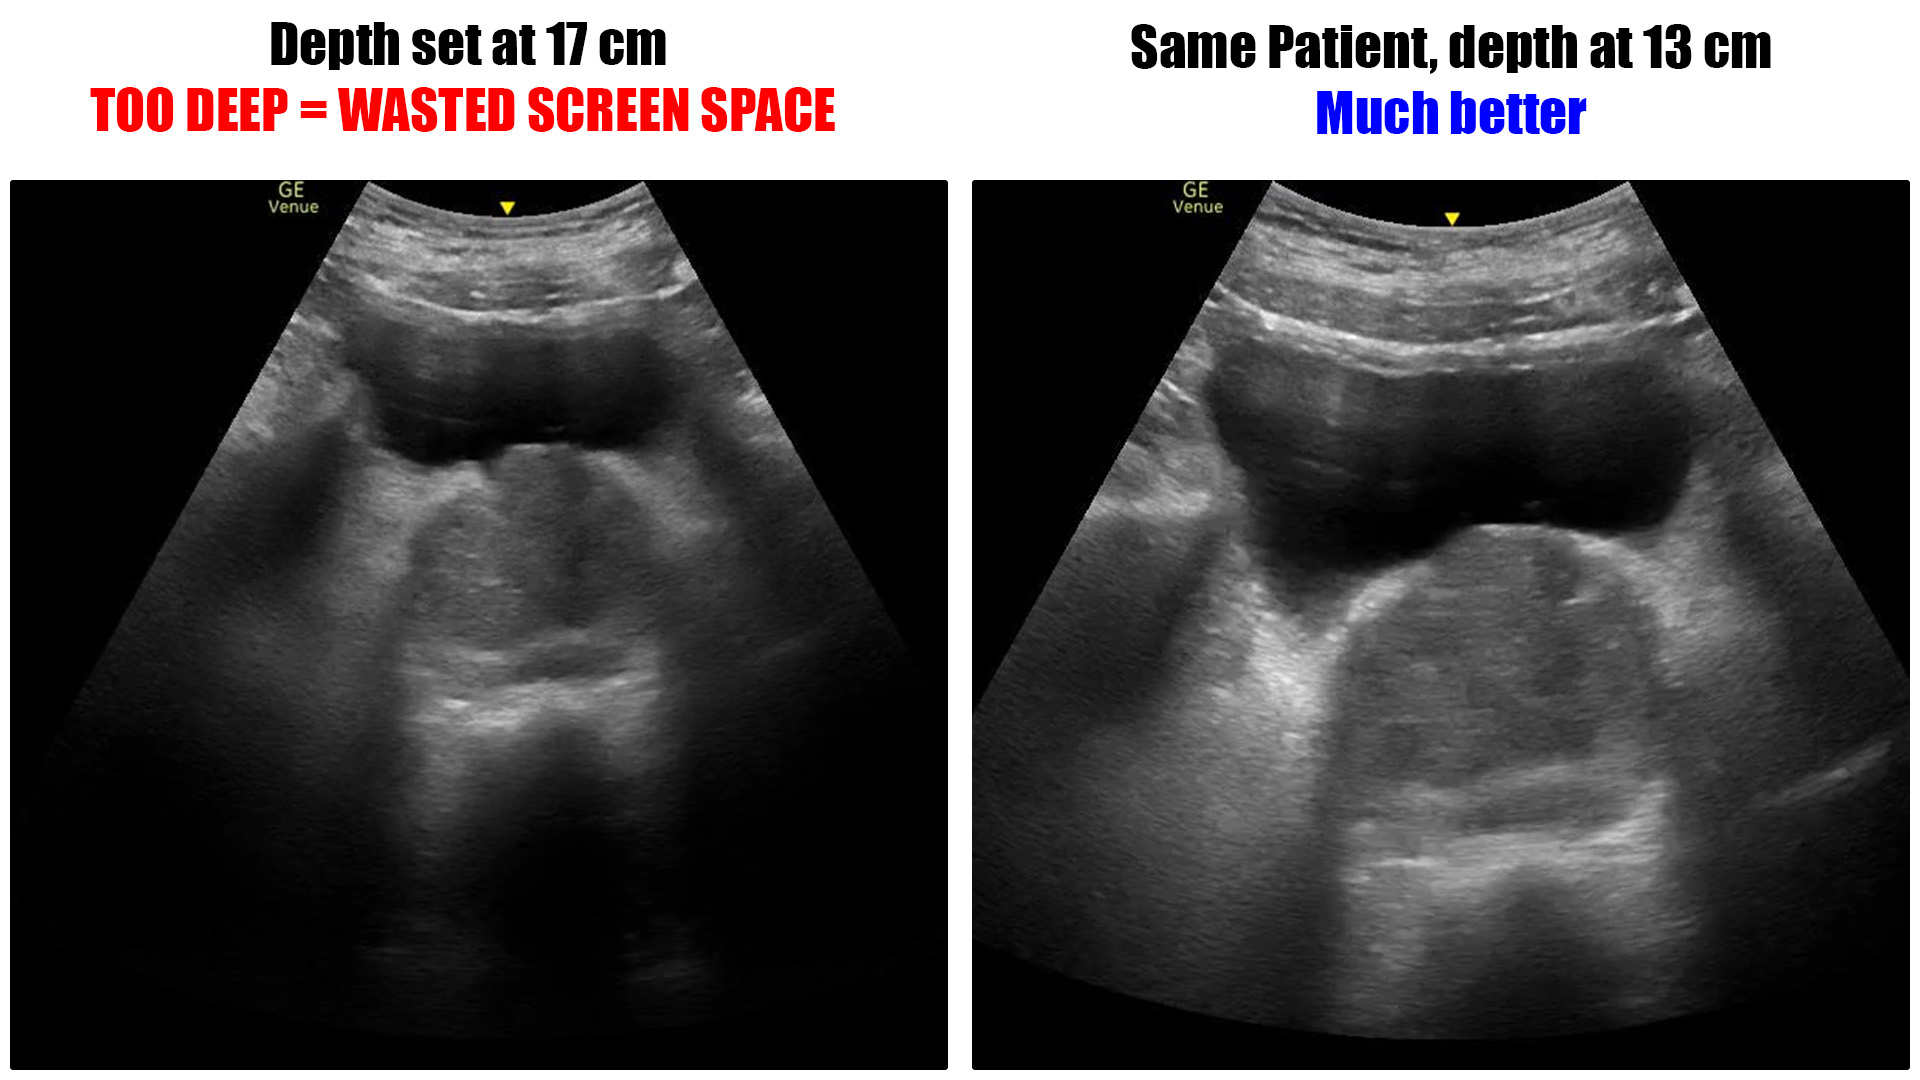
Image depth and gain are the two must fundamental settings on an ultrasound exam. The gain determines how bright the image is, and the depth setting determines how far into the body will be displayed on the screen. It is very common to see images obtained by novices where the depth is set too deeply or not deeply enough for a given application.
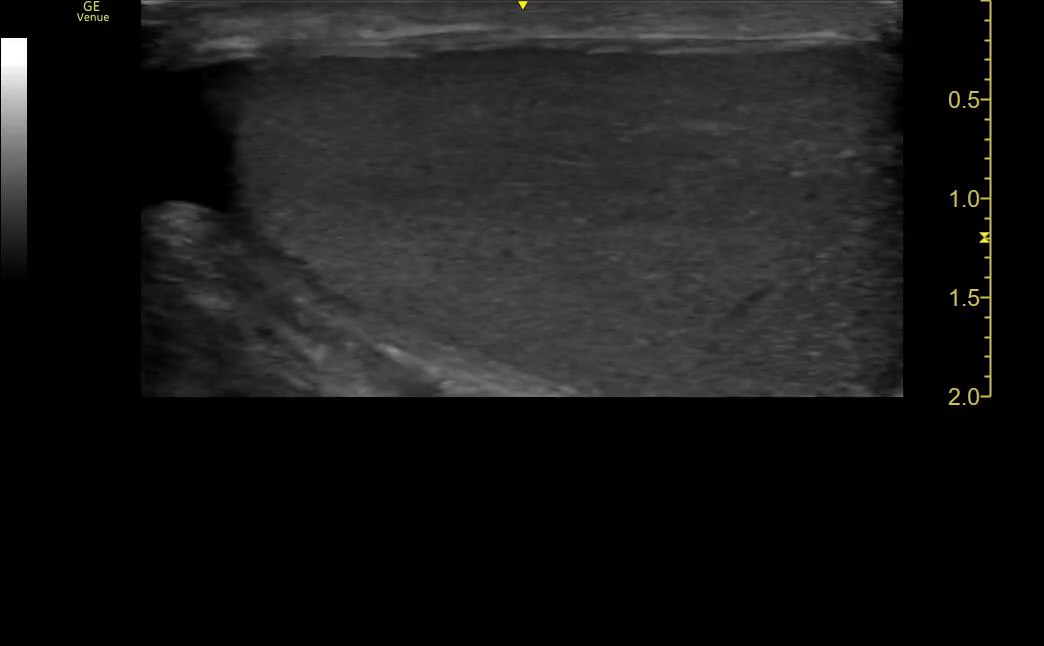
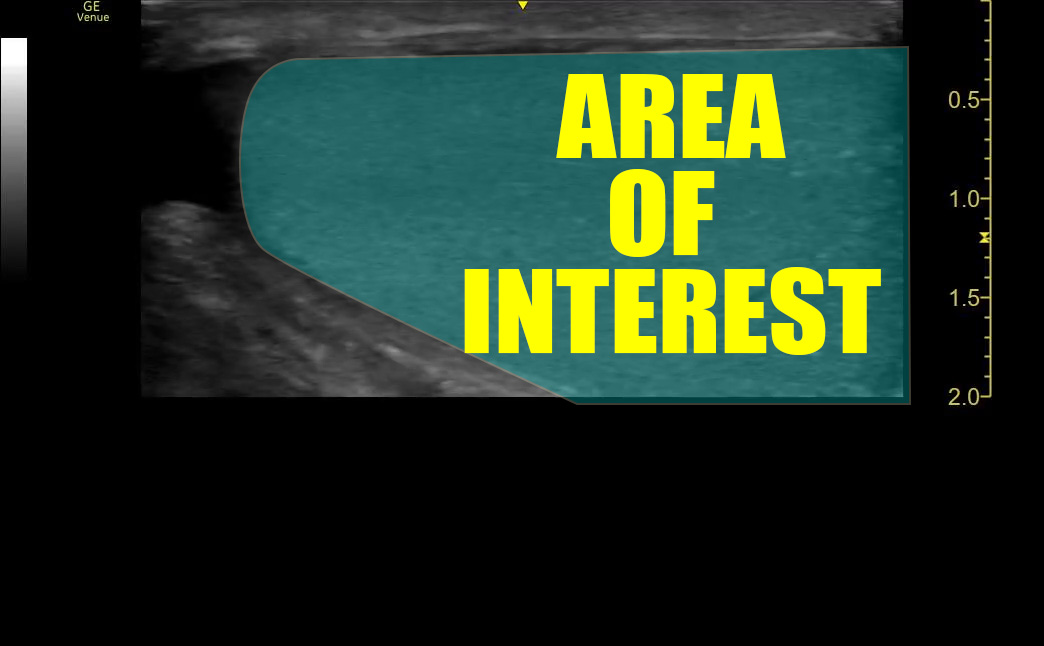
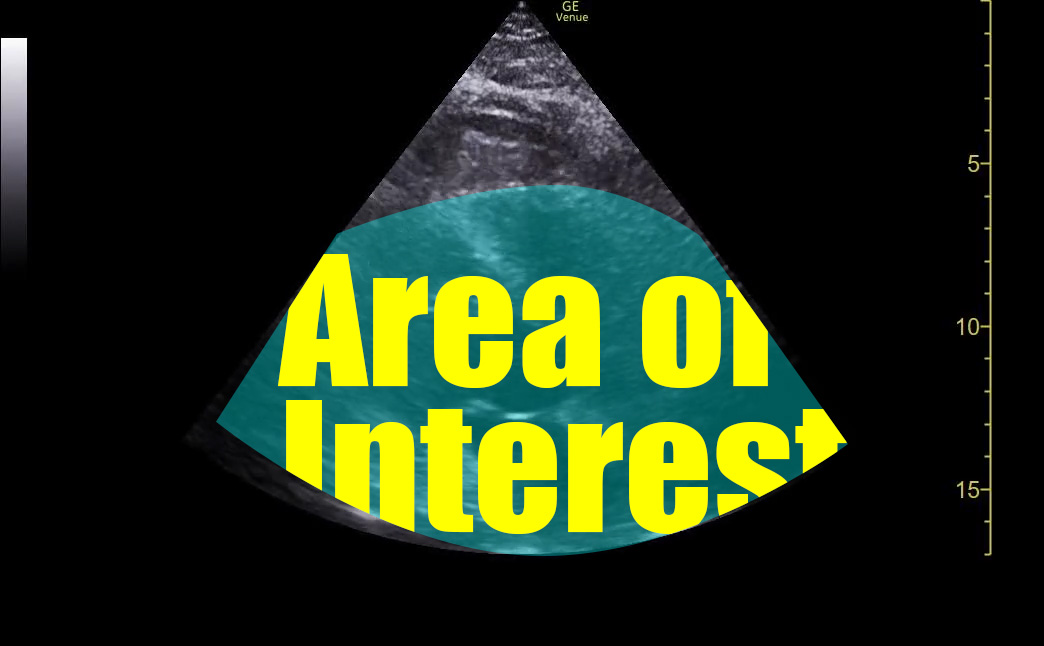
Discussions about depth bring up the concept of the “area of interest” or “AOI”. The AOI is whatever it is that you are looking for on that particular study. Maybe it’s the heart or the gall bladder or the pleural line, for example. You want your depth setting to be such that the AOI takes up as much room on the screen as possible while being able to see something around it for context.
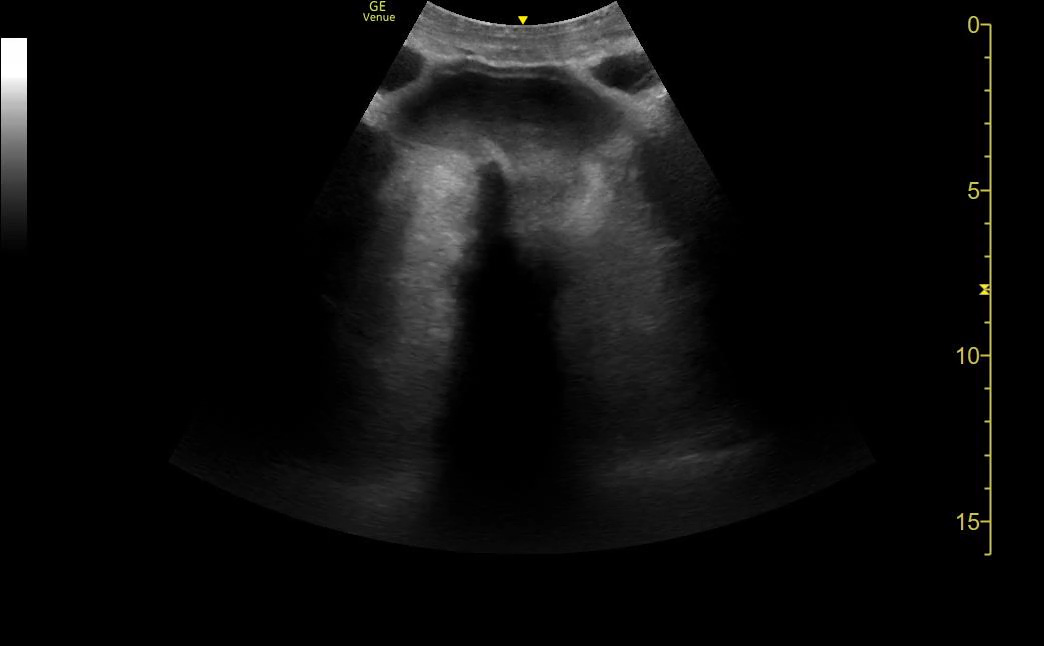
Too much depth
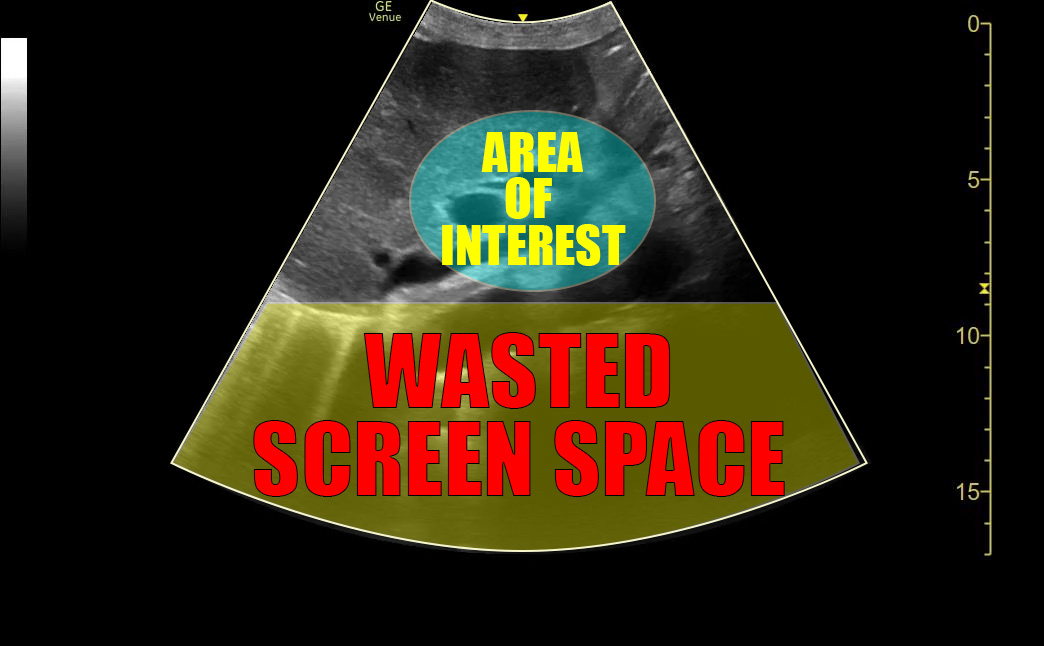
The problem with too much depth is that it wastes screen space. The machine has to use computing power to fill every pixel on the image. Every pixel that is used for something other than the AOI is wasted space. That means less of the screen is filled by the area of interest.


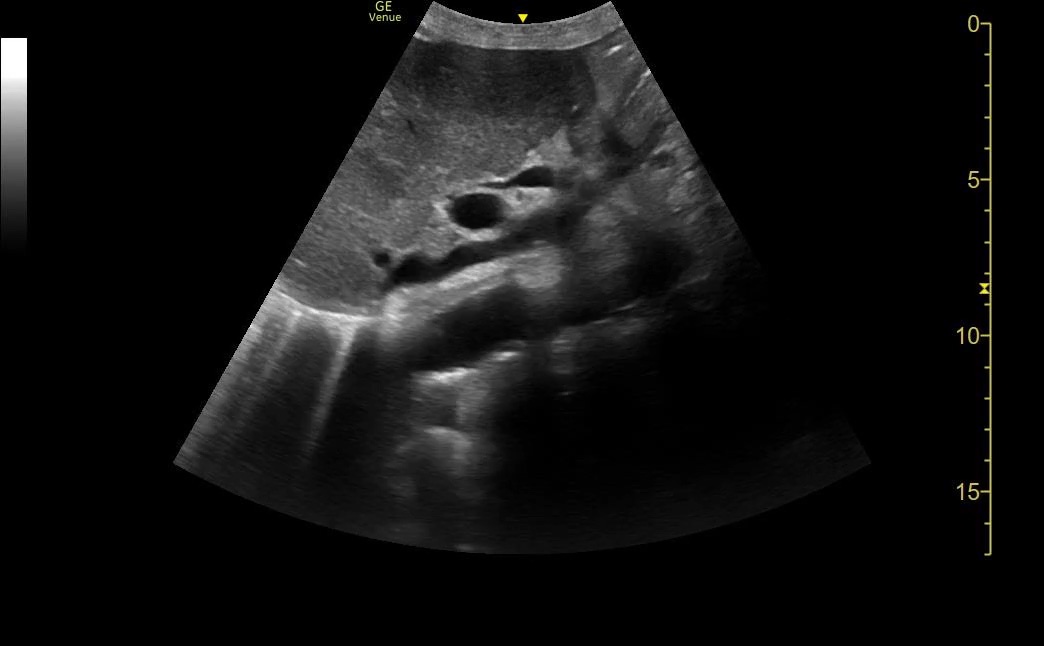
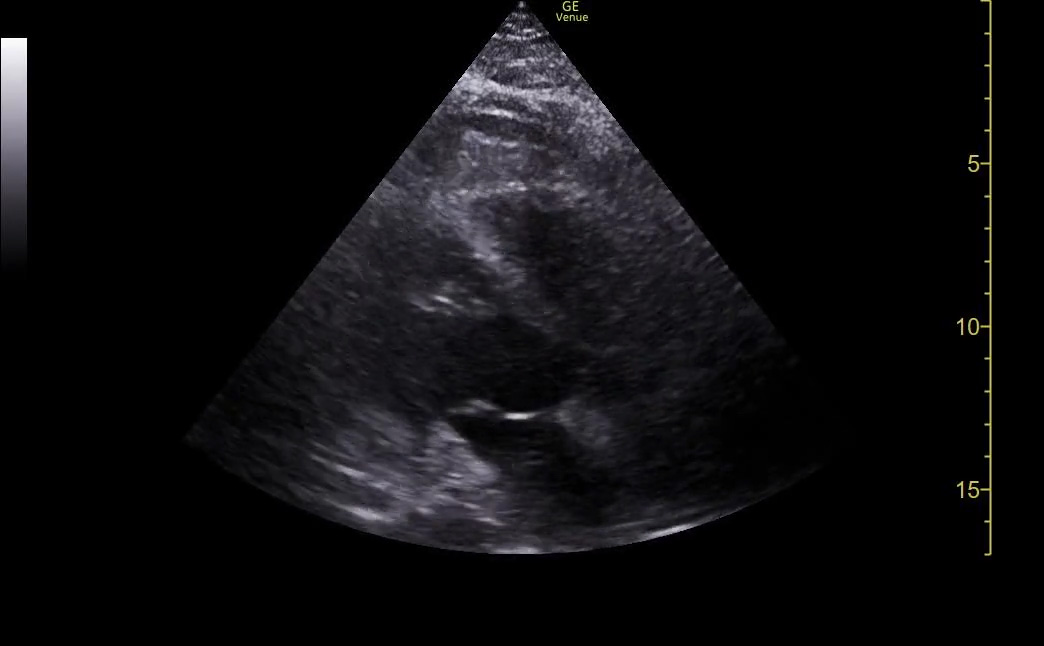
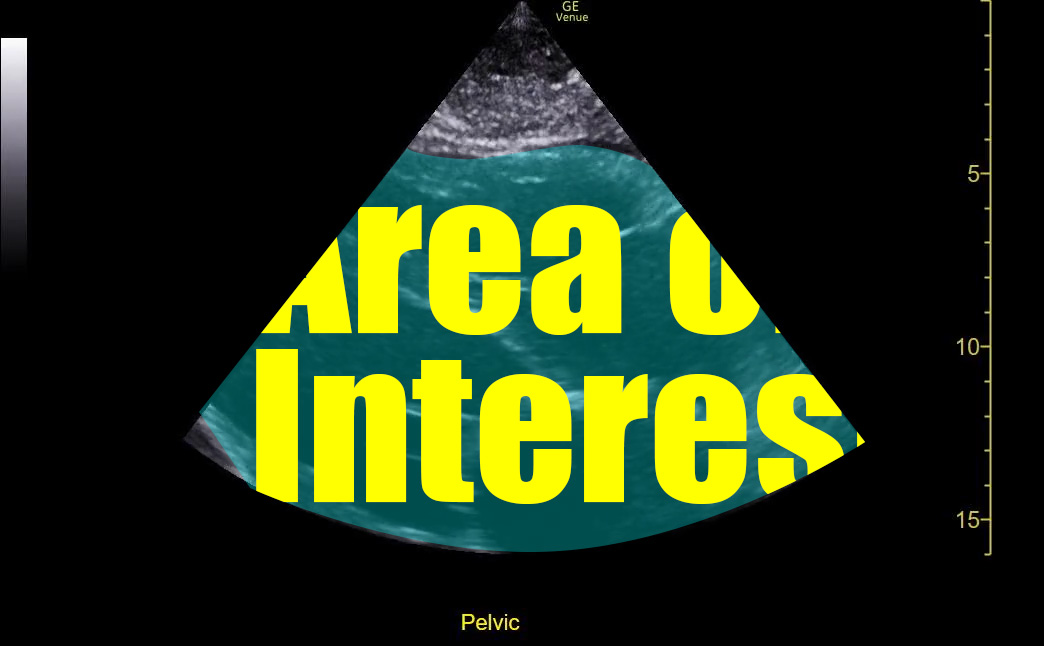
Too little depth
In general, we want to see the entire AOI on the screen – none of it should be cut off. The concern in this case is not wasted pixels on the screen but incomplete visualization of the AOI.

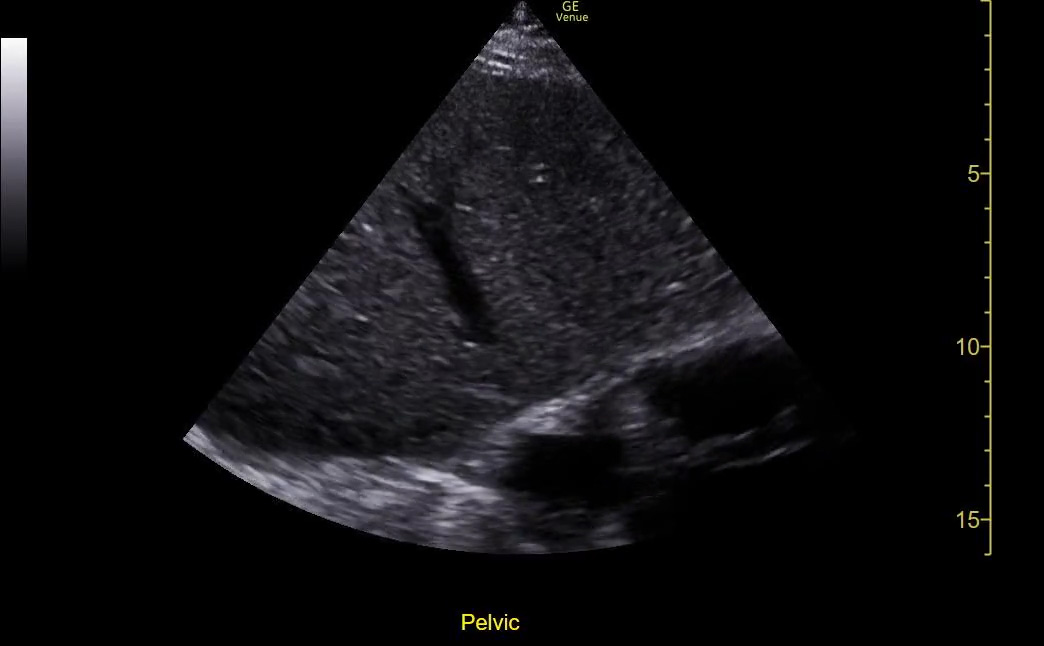
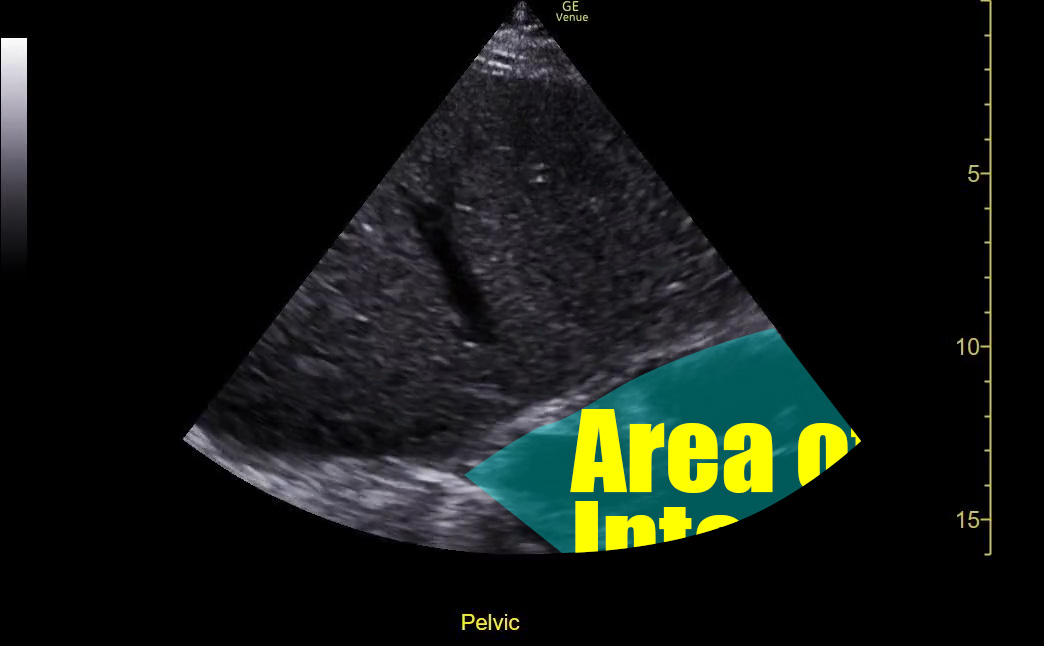
How do I get this right?
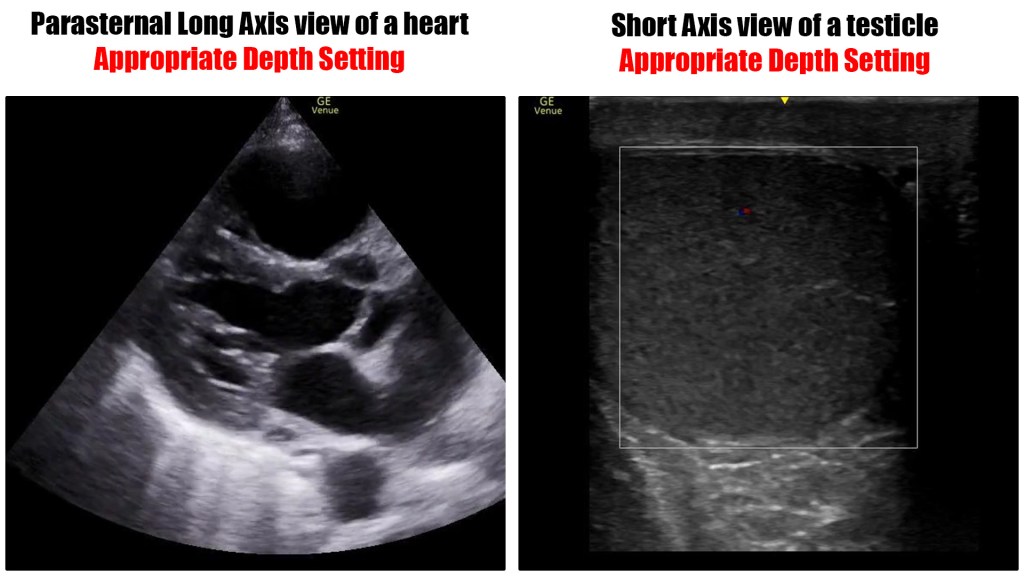
In general, it would be a good practice to set your depth such that the deepest edge of the AOI is about 3/4 of way down the image. That gives you a look at the entire organ in question and leaves some room at the deepest part of the image for context without “cutting it close.”

Why does this happen?
The most common reason is over reliance on the machine’s presets.
When you select a preset, the machine dials in some standardized depth and gain settings as well as what measurements and documentation defaults are at your fingertips. This is very helpful.
However, the machine does not know what the body habitus is. Nor does it know what view you are obtaining. When doing a FAST exam, you must keep in mind that the bladder is usually much more superficial than Morrison’s Pouch. The pleura is even more superficial than than the bladder. You wouldn’t expect the same setting to be ideal for all of them. It’s a dynamic exam.
The cardiac preset is another one learners stumble though at times. The apical 4 chamber view almost always requires a different depth setting than the parasteranal views and subxiphoid view.
Summary
Take the extra moment and dial in an appropriate depth setting when you do your ultrasounds. It makes the images easier to interpret and makes them (and therefore you) seem more professional.
I certainly appreciate the fact that if you have a very specific question – “is there a pericardial effusion,” for example – you may not need perfect/classic images to answer it. However, if you are ever in a situation where you must refer to your saved images to justify your decisions, having standard/classic images make them much easier to defend. If you have sloppy pictures and make decisions from them, you are putting yourself on an island. You will be on your own to defend important decisions having been made with poor information that you both obtained and interpreted. Try hard to get your images as close to standard as possible. Image depth is the simplest place to start.
